
Educational Technology and AI
Maker Spaces: Tools, First Projects, Safety, and Access
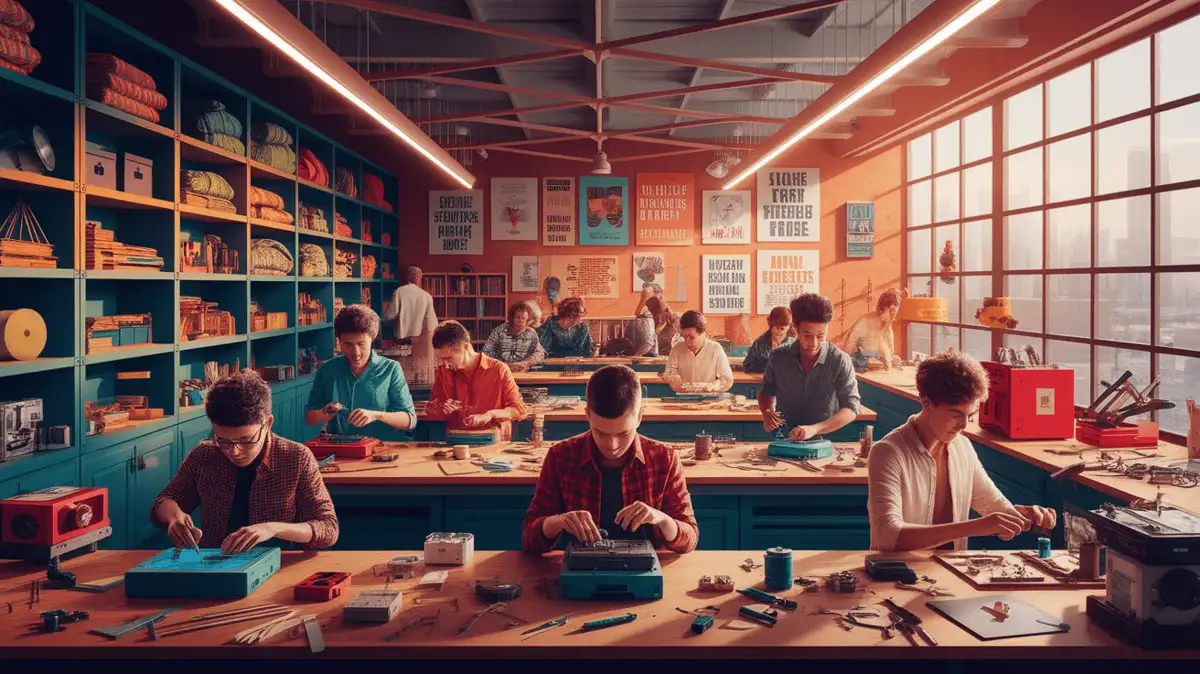
Maker-space action sequence
- Define one learning purpose and a small first project before acquiring tools.
- Inventory approved materials, storage, supervision, training, accessibility, maintenance, disposal, and emergency requirements.
- Teach one tool and one safety routine at a time, with an equivalent route when a tool is not accessible.
- Use design checkpoints that capture individual reasoning as well as the shared object.
- Review safety events, near misses, access, material use, maintenance time, and learning evidence before expanding.
Worked example: prototype a paper load platform
Hypothetical example: For a first maker-space project, pairs use paper, index cards, and school-approved tape to build a platform that holds a fixed set of classroom counters for ten seconds. The teacher demonstrates safe scissor handling and sets material, size, testing, cleanup, and storage limits. Students may direct, measure, fold with an adapted tool, or document; no power tools or hot adhesives are used.
Each student sketches one design decision and records the load from two controlled tests. The teacher reviews those explanations, the shared test record, material waste, cleanup, access barriers, and any safety concern. A stable platform alone does not show the intended reasoning. The next project proceeds only if the routine and evidence justify added complexity.
Copyable first-project review
Learning purpose:
Bounded first project:
Approved tools and materials:
Training and supervision:
Access and equivalent roles:
Storage, cleanup, and disposal:
Individual evidence:
Safety and maintenance review:
Repeat, revise, expand, or stop:
Maker spaces: purpose, tools, and safety
A maker space is a workshop for supervised design, repair, fabrication, or art projects. Available tools and participation rules vary by site; power tools, soldering equipment, and fabrication machines should be used only after required training, with age-appropriate supervision and accessible alternatives.
What Is a Maker Space?
A makerspace is a shared workshop for activities such as crafts, engineering, art, repair, or technology projects. Names and facilities vary: a site may offer 3D printing, laser cutting, Arduino programming, sewing, woodworking, or only a small subset. Libraries, schools, community centers, and independent organizations may operate these spaces under different membership, training, supervision, and access rules.
Features of a Maker Space
Facilities differ, but common features may include shared equipment, work areas, instruction, and project sessions. Each feature should be reviewed for safety, supervision, accessibility, maintenance, and fit with the site’s purpose.
- Shared tools and equipment: A site may offer 3D printers, CNC machines, laser cutters, sewing machines, soldering stations, or electronics kits. Access should follow the site’s age limits, training, supervision, maintenance, ventilation, and protective-equipment requirements.
- Collaborative Workspaces: Tables and open benches can provide room to spread out and work side by side.
- Skill sharing: Members may compare designs or demonstrate low-risk techniques. Hazardous procedures and equipment operation should be taught or supervised by a person qualified under the site’s safety rules, not delegated to informal peer instruction.
- Project-Based Learning: Classes, workshops, and open-lab sessions can help participants turn a “someday” idea into a tangible project.
- Participation Practices: Define procedures for proposing ideas, testing designs, documenting results, sharing tools, and working with others.
Benefits of Using a Maker Space
A maker space may support the following goals:
- Access to technology: Shared facilities can reduce the cost of using specialized equipment. Access should occur through authorized sessions after required training rather than through unrestricted control of keys or machines.
- Hands-on STEM learning: A maker project can support a defined science, technology, engineering, or mathematics objective when the materials, instructions, workspace, and response options are safe and accessible for the participants.
- Creative Collaboration: Participants can meet other inventors, engineers, artists, and entrepreneurs whose ideas may challenge and inspire their own work.
- Skill development: Participants can practice selected skills such as electronics assembly, 3D-printer setup, or Raspberry Pi programming when instruction, supervision, and equipment authorization match the task.
- Prototype extension: If entrepreneurship is part of the learning goal, students can document a user need, design constraints, testing evidence, cost assumptions, and intellectual-property questions without implying that a classroom prototype will become a business.
How to Find or Start a Maker Space
To locate a community workshop, search local library, school, municipal, or community-center listings. A library’s role in supporting digital learning does not establish that every branch has a maker space; contact the site to verify membership, age, accessibility, training, supervision, fees, and available tools.
Starting a maker space requires organizational approval, a suitable facility, an accessible program design, qualified safety review, equipment-specific procedures, supervision and training plans, maintenance and storage controls, and any locally required insurance, permits, or inspections. Confirm those requirements with the responsible school, library, organization, facilities staff, and local authorities before acquiring tools, setting fees, or inviting participants.
Plan a first project
Choose a small first project whose materials, tools, supervision, and accessibility requirements have been reviewed. Within those limits, participants can experiment, but questions and design ideas still need checks for safety, feasibility, cost, privacy, and the project’s learning purpose before anyone begins building.
Use this overview of maker culture as background, then choose one first project, confirm its supervision and safety requirements, and identify where each tool and material will be stored.
Classroom resources for this teaching goal
- Cool-Water Design Investigation — For an optional Grade 6 cool-water comparison, review the equipment, supervision and setup guide first. A complete supplied-data alternative is included.
Tools in this guide: Plan a first project with a sequence, a focused paper-and-index-card design example, and a copyable safety and evidence review.